Sometimes you are unable to clean or delete a virus. It is because the virus is running. It is like when you open a Microsoft Word file, you cannot delete or rename it. Then, you can enter the safe mode, where the virus is not running, to delete the virus. You may refer to https://www.eset.hk/support/faq?id=81 for details. However, if you find that some infected files cannot be deleted even in the safe mode, they are probably zipped files. By default, NOD32 does not delete infected zipped files. You can make the following settings and let NOD32 delete infected zipped files automatically.
Note: In the settings we always check the box "Copy to Quarantine". In case a deleted file is found useful, you can restore it from the NOD32 Quarantine.
First, open the NOD32 Control Center, click "NOD32" and then "In-depth analysis"

Scanning will start automatically, please click "Stop" so that we can change some settings.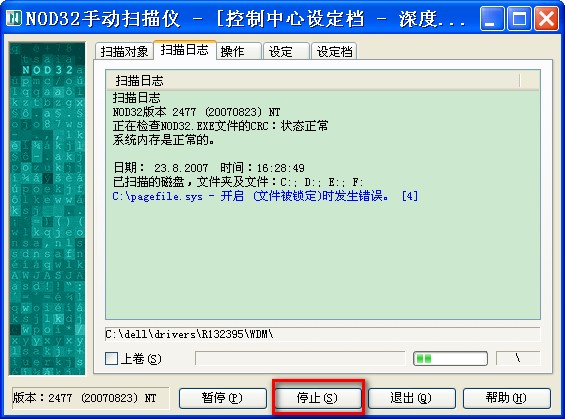
Click the "Action" tab, then make settings referring to the following figure.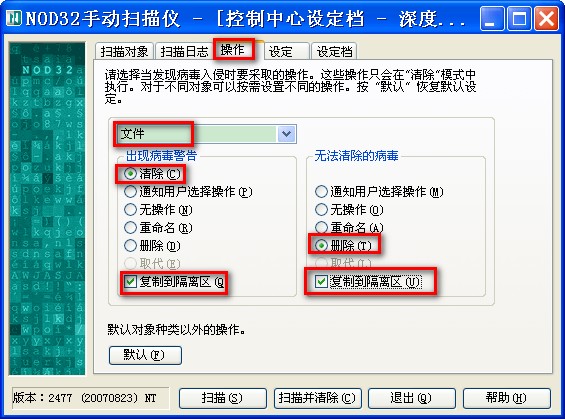
Choose "Boot sectors" from the pull down menu, then make settings referring to the following figure.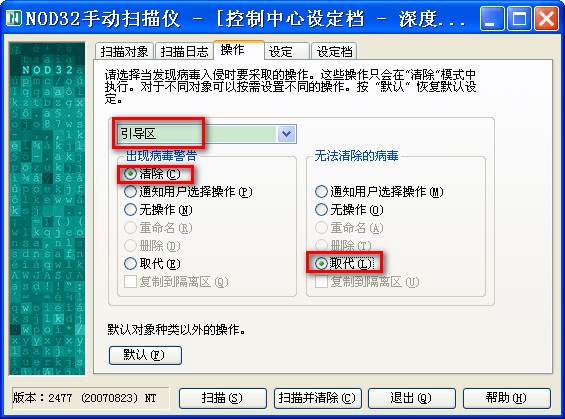
Choose "Archives" from the pull down menu, then make settings referring to the following figure.
Choose "Self-extracting archives" from the pull down menu, then make settings referring to the following figure.
Choose "Run-time packers" from the pull down menu, then make settings referring to the following figure.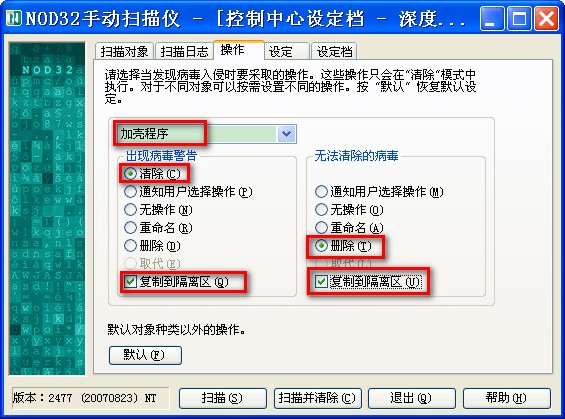
Choose "Email" from the pull down menu, then make settings referring to the following figure.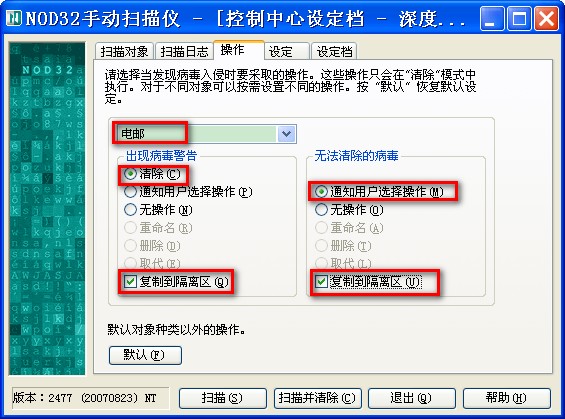
Choose "Operating memory" from the pull down menu, then make settings referring to the following figure.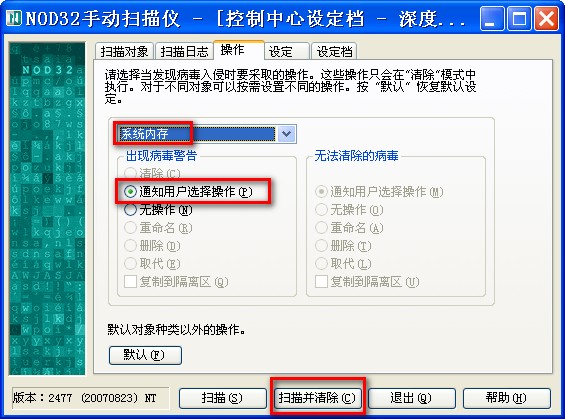
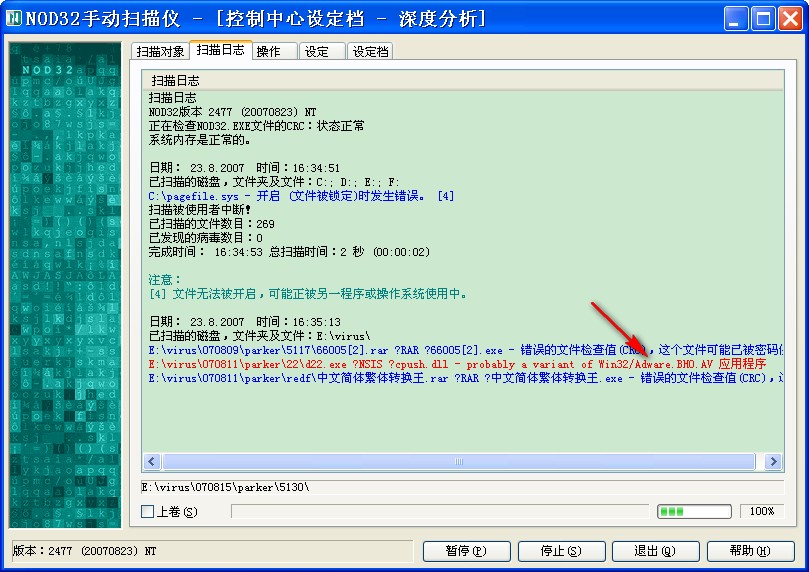
ALL the lines in blue are normal information.
The red lines indicate viruses are found. According to our previous settings, all infected files (including archives) will be cleaned/deleted automatically (see the arrows)
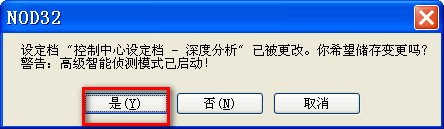
After the scan is complete, click "Quit" and then "Yes" to save the settings.